Bought a new flash drive? Want to check that it is capable of doing what you want it to do? Hopefully this will help you. Our guide to checking drives to make sure that the capacity that it says it has will be the size you get and you have not been subject to counterfeit and corrupted flash memory. With a simple download you can check your flash memory before using it so that precious holiday snaps, videos and other important data doesn’t get lost.
Download from downloads.digitaljessica.co.uk/utilities/ChkFlsh.zip – Please Note: DO NOT USE THIS FACILITY ON DISKS THAT HAVE CONTENT OR DATA as the tool is designed to work on newly formatted disks and this procedure will empty your disk.
If you are using Google Chrome, you may get a warning saying this file is not commonly downloaded. This warning can be safely ignored.
Step 1: Insert the disk into your computer
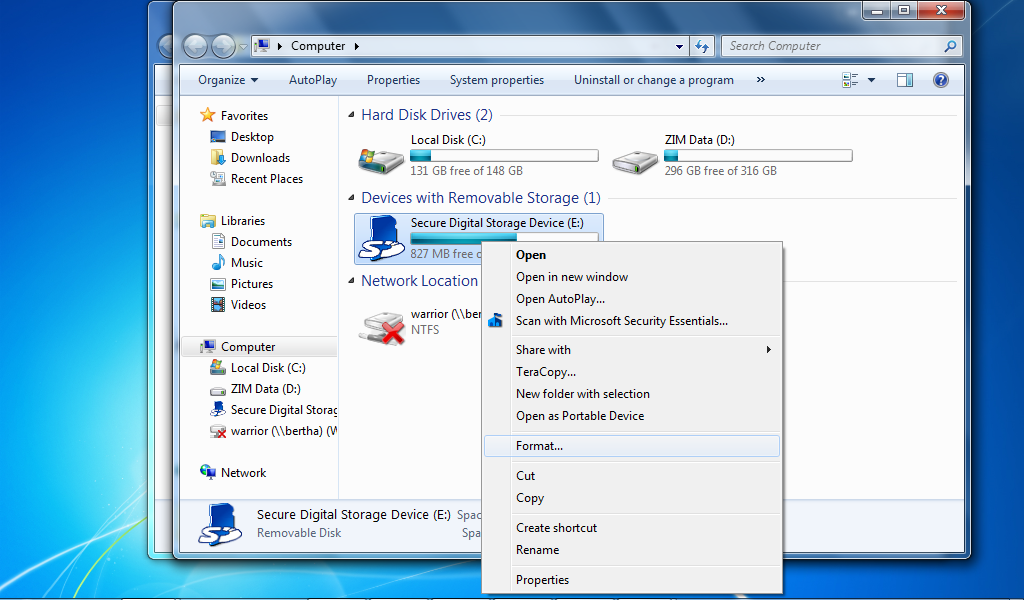
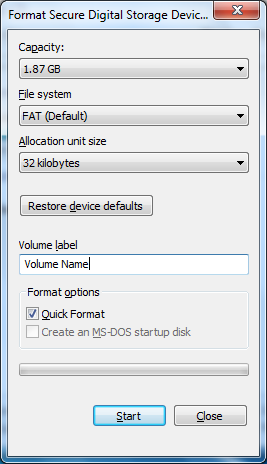
Step 2: Open the computer and right click on the drive – select FORMAT from the available options – Under file system, choose “NTFS”.
Step 3: Type a volume label – or in other words ‘name your disk’ e.g Holiday Snaps or Camera ETC.
Step 4: Ensure Quick Format is enabled.
Step 5: Click START [NB BY DOING THIS YOU WILL ERASE ALL DATA ON THE DISK SO MAKE SURE THAT THERE IS NO DATA THAT YOU WISHED TO KEEP ON THE DISK]
Step 6: When format is complete click FINISH
Step 7: Open the download of ChkFlsh.zip by double clicking on it
Step 8: Click extract all files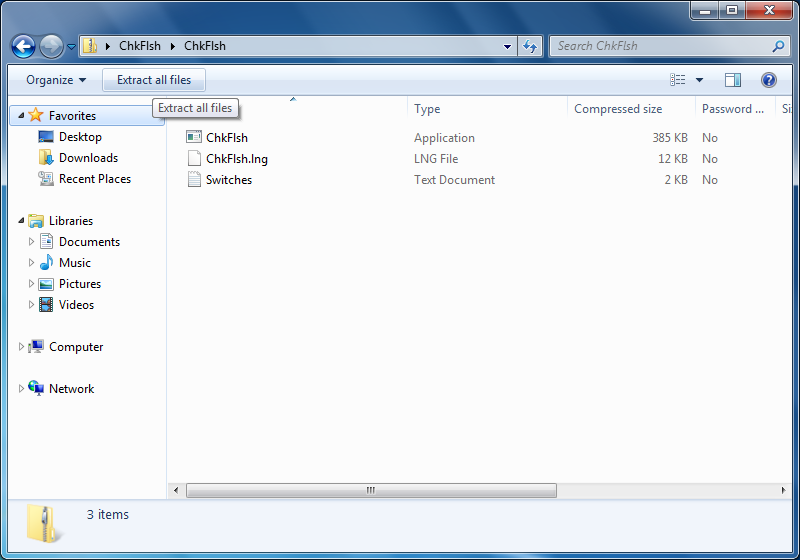
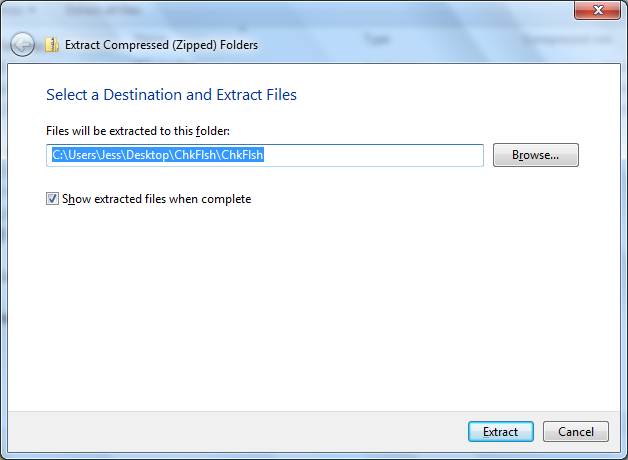
Step 9: Choose where you would like to extract the files – ticking the box ‘show extracted files when complete’ and then click ‘extract’
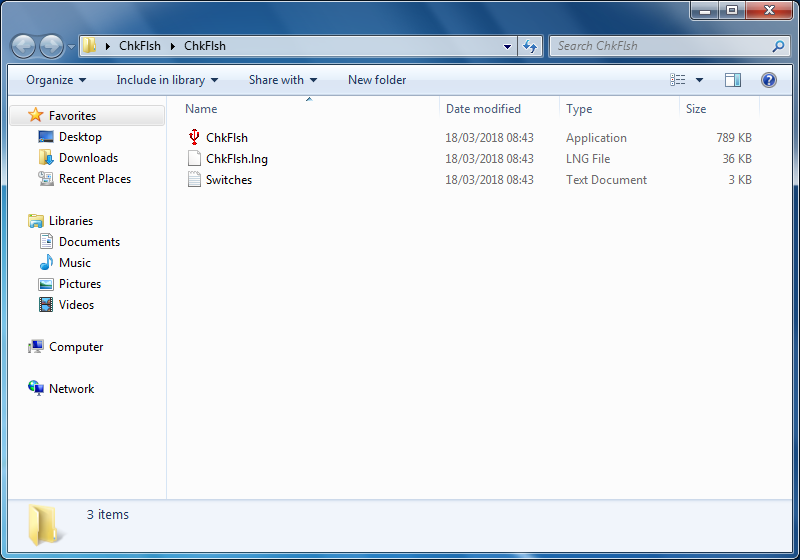
Step 10: A new window has opened double click ‘chkflsh’ it will have a USB icon.
Step 11: ChkFlsh will run and select the drive you want to check
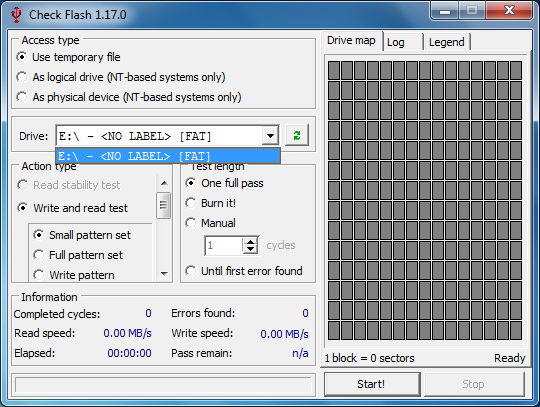
Step 12: Ensure options shown in screenshot are selected – Action Type: Read and Write Test; Small Pattern Set; Test Length: One full pass – click Start
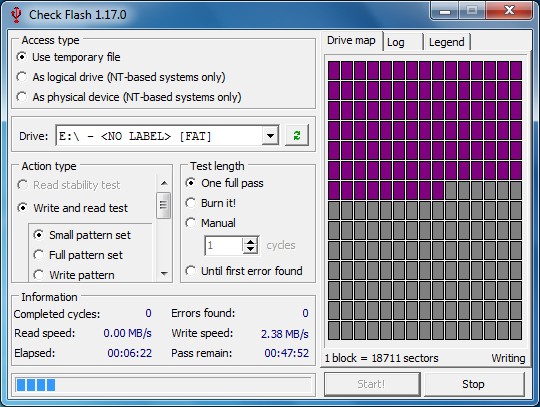
This will take approximately an hour to run the time remaining will be displayed in pass remains under information. The drive map TAB will fill with purple boxes which shows the data being written to the disk – if there is no problem then they will turn green once it has finished writing. The process will be repeated twice. If there is an error there will be red or yellow boxes – see legend for descriptors.
13. Once the process has finished, go back to My Computer or “This PC”, and once again right click on the drive and click FORMAT – This time please choose FAT or FAT32 in the file system drop down.
This software was created by Cherkes Mihail, who’s homepage is http://mikelab.kiev.ua/